Transforming Images into ASCII Art with Python
Written on
Chapter 1: Introduction to ASCII Art
ASCII art is a fascinating method of transforming images into a distinctive form of digital art. This guide will walk you through the process of generating ASCII art from an image using Python.
To produce ASCII art, we must convert an image into a collection of characters that depict the varying shades and colors present in the original image. This involves several steps: converting the image to grayscale, resizing it to a more manageable size, scaling the pixel values to fit a set of characters, and finally, associating pixel values with their corresponding characters.
We will utilize Python along with several libraries to accomplish this task. Specifically, we will employ NumPy for numerical computations, Pillow for image handling, and Matplotlib for displaying the images. Let’s jump into the code and see how these libraries can assist us in creating ASCII art.
Section 1.1: Setting Up Characters for ASCII Art
To start, we need to create a list of characters that will be used in our ASCII art. Using NumPy, we can generate a one-dimensional array of characters that range from light to dark, forming a gradient. Here’s how we can do that:
import numpy as np
chars = np.asarray(list(' .,:;irsXA253hMHGS#9B&@'))
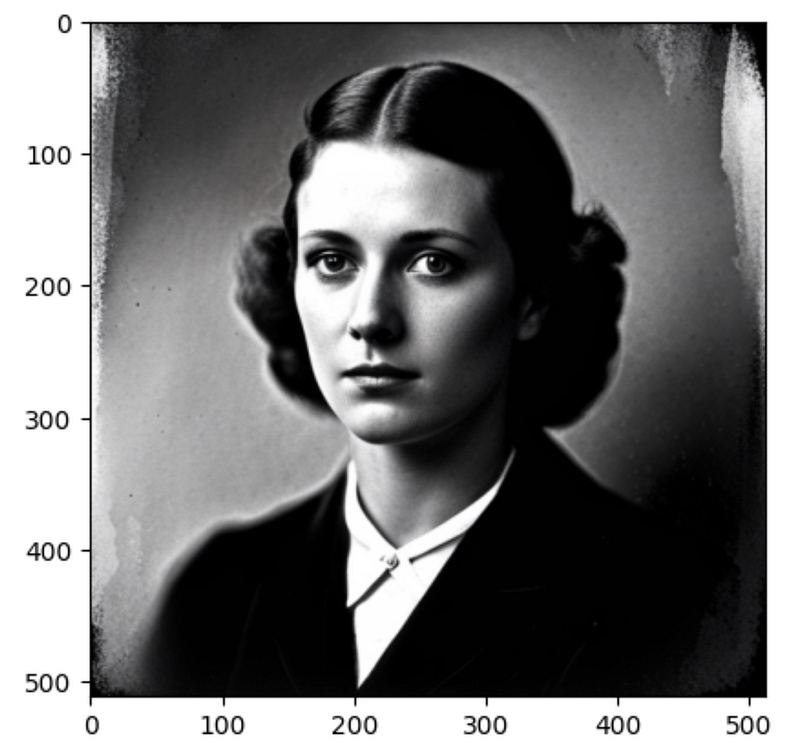
Next, we will load the input image using Pillow's Image class, visualize it with Matplotlib’s imshow function, and convert it to grayscale. Below is the code to achieve this:
from PIL import Image
import matplotlib.pyplot as plt
img = Image.open('portrait.png')
plt.imshow(img)
img = img.convert('L')

Section 1.2: Resizing the Image
After converting the image to grayscale, we will resize it to enhance performance and make the output clearer. We will retrieve the original dimensions, calculate the aspect ratio, and resize the image to a width of 80 pixels (representing characters), with the height adjusted accordingly.
width, height = img.size
aspect_ratio = height / width
new_width = 80
new_height = int(aspect_ratio * new_width * 0.5)
img = img.resize((new_width, new_height))
Now we will convert the resized image into a NumPy array and scale the pixel values to fit within the range of our character set using NumPy's astype function:
img_array = np.asarray(img)
img_array = (img_array / 255 * (len(chars) - 1)).astype(int)
Finally, we can generate the ASCII art by mapping the pixel values to their corresponding characters from the list we created earlier:
ascii_art = chars[img_array]
To display the ASCII art in the console, we will use the join function to combine characters in each row into a single string and then join all the rows together into a single string separated by newline characters:
print('n'.join([''.join(row) for row in ascii_art]))
Chapter 2: Enhancing Your ASCII Art
This video, "Algorithmic Art with Python," showcases various techniques for creating art algorithmically, providing insight into the creative possibilities with Python.
In this talk titled "Emily Xie - Making Art with Python - PyCon 2018," the speaker discusses her journey of combining programming with art, sharing valuable insights and methodologies.
In conclusion, the process of creating ASCII art offers a fun and imaginative way to transform images into unique digital creations. With Python and the appropriate libraries, the task becomes straightforward and enjoyable. Experimenting with different settings and characters can lead to the best results tailored to your chosen image.